It’s frustrating when you’re ready to listen to your favorite music or take an important call, only to find that one of your AirPods isn’t working. If you’re experiencing sound issues with only one AirPod, you’re not alone. This guide will walk you through simple steps to troubleshoot and resolve why one of your AirPods might not be connecting or playing audio.
Simple Steps to Get Your Single AirPod Working Again
Before diving into more complex solutions, let’s try some quick fixes that often resolve the issue of a single AirPod not working.
Ensure Your Charging Case Has Power
Sometimes the simplest solution is the most effective. Make sure your AirPods charging case isn’t completely drained. A dead case can sometimes cause connection issues.
- Connect your charging case to a power source and let it charge for a few minutes.
- Once it has some charge, proceed to the next steps.
The 30-Second Charge and Reset Trick
This quick charging and reset method can often kickstart a malfunctioning AirPod.
- Place both AirPods back into the charging case.
- Close the lid and let them charge for at least 30 seconds. This ensures both AirPods are recognized by the case.
- Open the charging case near your iPhone or iPad. This proximity allows your device to quickly recognize the AirPods.
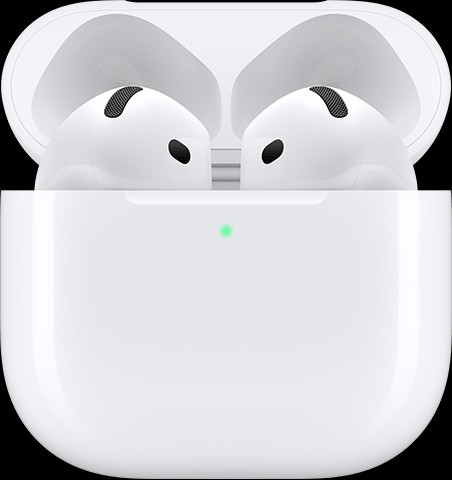 AirPods 4 in charging case with lid open
Alt text: AirPods charging in their open case, a common first step to fix connection issues.
- Check your iPhone or iPad screen. A battery status should appear, confirming that each AirPod is charging and being recognized individually. This step helps verify if both AirPods are communicating with the device.
- Remove the AirPod that was not working from the case and place it in the correct ear.
- Keep the other AirPod inside the closed charging case. This isolates the AirPod you’re testing.
- Play some audio on your device. Test if the single AirPod now produces sound.
What to do next:
- If the AirPod now works: Great! It might have just needed a quick reset. Place both AirPods back in the case, charge for another 30 seconds, and then test if both are working correctly together.
- If the AirPod still doesn’t work: Don’t worry, there are still options. The next step is to try a full reset of your AirPods, as outlined in Apple’s official guide. You may need to “reset your AirPods” for a more thorough fix. This process can resolve deeper connection problems.
Check for Audio Balance Issues
Sometimes, it’s not that an AirPod isn’t working, but rather the audio balance is skewed, making it seem like one side is silent.
- Inspect the Speaker Mesh: Examine the small mesh grilles on each AirPod. Debris or earwax buildup can significantly reduce volume.
- Clean Your AirPods: If you see any blockage, gently “clean your AirPods” or “clean your AirPods Pro” using the recommended methods.
- Verify Audio Balance: On your iPhone or iPad, go to Settings > Accessibility > Audio/Visual > Balance. Ensure the balance slider is positioned exactly in the middle. If it’s shifted to one side, it will reduce or eliminate sound in the opposite AirPod.
By following these steps, you should be able to identify and fix the reason why one of your AirPods won’t connect or play sound, getting you back to enjoying your audio experience.