 Troubleshooting Your Sourdough Starter
Embarking on the journey of sourdough baking often begins with an exciting endeavor: creating your own sourdough starter. This living culture, the heart of sourdough bread, is a simple mix of flour and water that promises to bring your loaves to life. Yet, for many, the initial enthusiasm can turn into frustration when faced with a seemingly inactive starter. If you’re asking yourself, “Why Is My Sourdough Starter Not Rising?” you’re not alone.
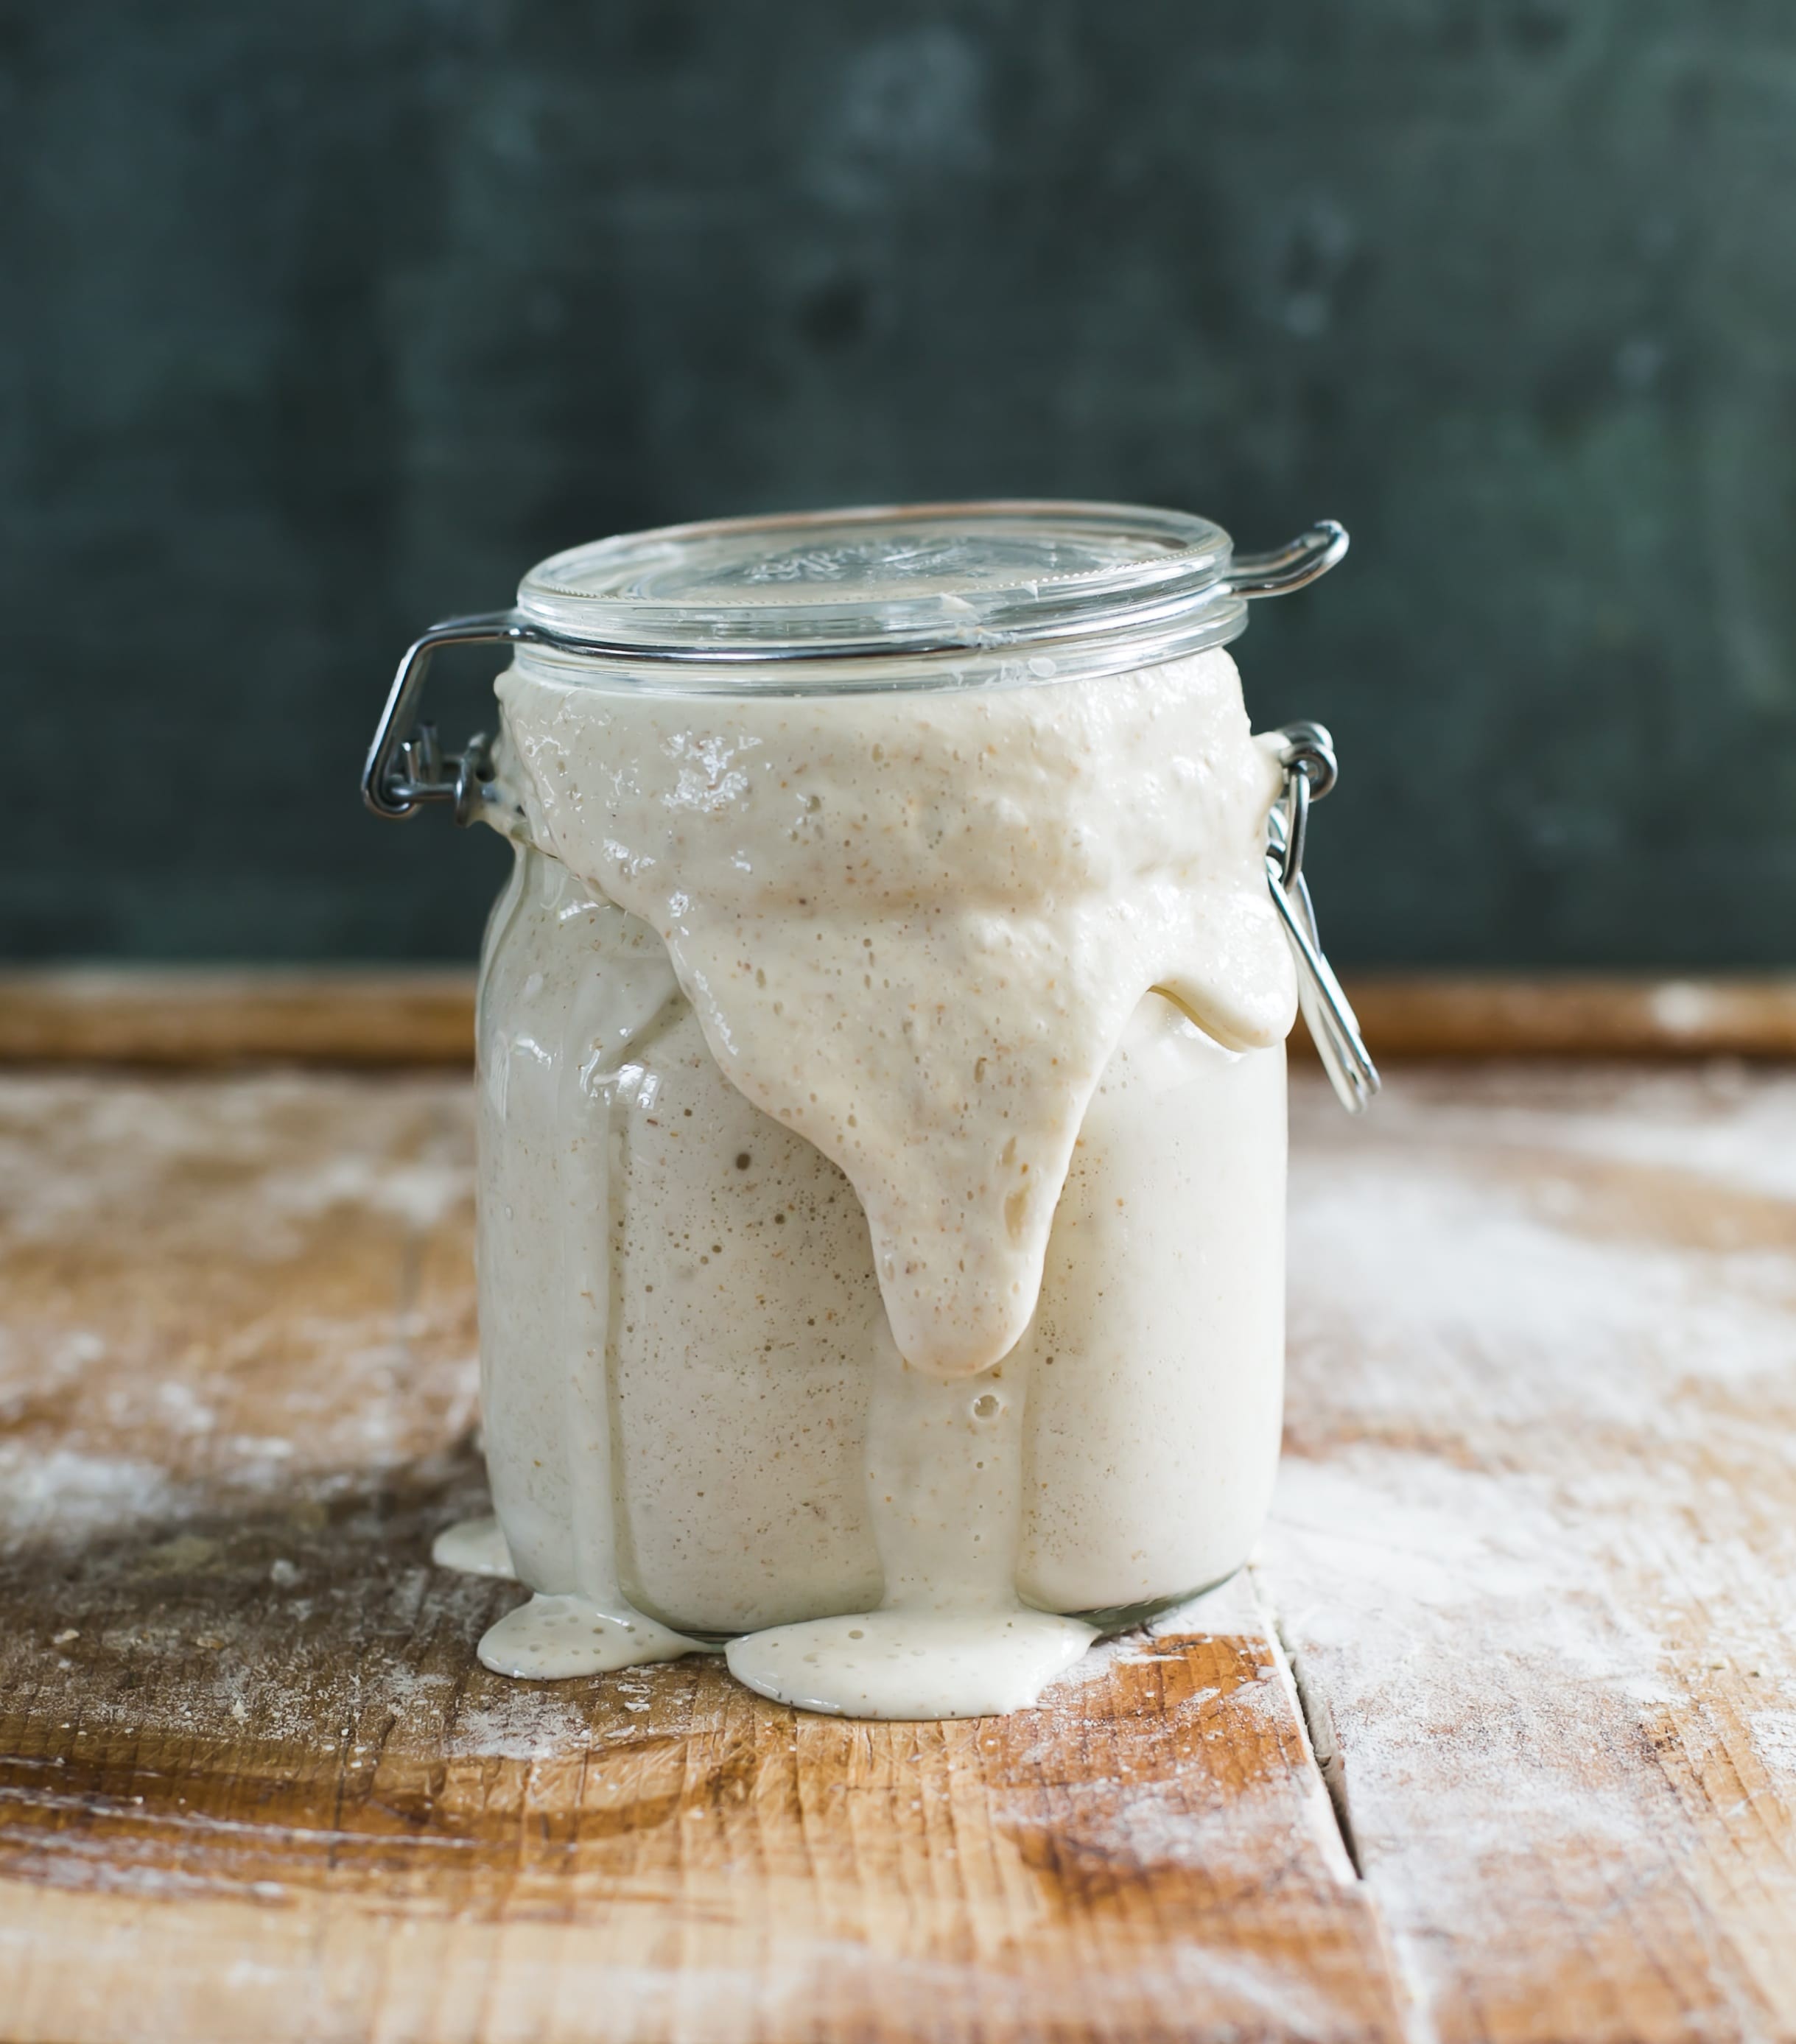
A sourdough starter, at its essence, is a dynamic ecosystem of wild yeasts and bacteria. When active and bubbly, it possesses the power to leaven bread, imparting that signature tangy flavor and chewy texture we all crave in sourdough. This process, dating back millennia, long before commercial yeast was available, is a testament to the magic of natural fermentation.
However, nurturing a sourdough starter is akin to fostering a relationship. It requires understanding, patience, and a bit of attentiveness. It’s not merely a set-it-and-forget-it project. This living culture needs consistent care, primarily through regular feedings of flour and water, to remain vibrant and ready for baking. Neglect its needs, and you might find your sourdough dreams deflated, quite literally.
The beauty of sourdough lies in this ongoing interaction. But with any relationship, uncertainties and questions arise. Doubts creep in: “Am I doing this correctly? Why doesn’t my starter resemble the images I see online? Why is it taking so long to rise? Could it possibly be dead?” These are common concerns for both novice and seasoned sourdough bakers.
This guide is designed to address these very questions. While much of this information is rooted in the principles discussed in my book, Artisan Sourdough Made Simple, this article expands upon those insights, offering detailed explanations and practical solutions to help you troubleshoot your sourdough starter. We aim to provide clarity and foster a deeper understanding of this fascinating process.
Before we delve into troubleshooting, let’s establish two fundamental points:
-
This guide assumes you’re working with a 100% hydration starter, the most common type, made with equal parts of flour and water by weight. If you are starting from scratch, you might find my Beginner Sourdough Starter Recipe helpful to get you going.
-
This is a comprehensive guide. Take your time, read it through more than once, and allow the information to sink in. The “aha!” moment in sourdough baking often comes with patient learning and observation.
Troubleshooting Your Sourdough Starter: Why It’s Not Rising
1. The Million-Dollar Question: Why Won’t My Starter Rise?
This is the most frequent concern among sourdough bakers, and it’s a perfectly valid one. Think of your sourdough starter as a living being, each with its unique characteristics. Just like people, sourdough starters can be temperamental, and a universal solution doesn’t always exist.
Some bakers lean heavily on scientific explanations to understand these variations, while others trust their intuition, observing their starter and learning its rhythm. A balanced approach, combining both observation and understanding of the underlying principles, is often the most effective.
When troubleshooting a sourdough starter that isn’t rising, it’s rarely due to a single issue. More often, it’s a combination of factors at play. In my experience, the primary culprits affecting rise time are temperature, ingredients, feeding frequency, flour type, and the amount of flour used in each feeding.
Temperature: The Goldilocks Zone for Starters
Sourdough starters thrive in warm environments. Warmer temperatures accelerate yeast activity, leading to quicker rising. Ideally, you’re aiming for a temperature range of 75-85°F (24-29°C). However, maintaining this consistent warmth, especially in colder climates or seasons, can be challenging.
Here are some strategies to create a warm haven for your starter:
-
Cozy Cabinet Storage: A kitchen cabinet can offer a surprisingly stable and warmer environment, shielded from drafts and temperature fluctuations. Consider a cabinet near your stove, as residual warmth can further benefit your starter. Experiment with different cabinets to find the warmest spot.
-
Heating Pad Wrap: A clever tip from a kombucha enthusiast, wrapping your starter jar in a heating pad provides controlled warmth. Heating pads often have adjustable temperature settings, allowing you to fine-tune the warmth around your starter.
-
Proofing Box: For precise temperature control, a proofing box is an invaluable tool. These devices are designed to maintain a consistent temperature, ideal for both starter and dough proofing. I personally use this foldable proofing box, which is also excellent for dough and conveniently folds away for storage.
-
Oven (with Light On): A simple makeshift proofing box can be created using your oven. Turn the oven off completely, but switch on the oven light. The gentle heat from the light bulb can create a warm environment. However, monitor the temperature closely as it can become too warm. A microwave (turned off, with the light on) can also serve a similar purpose.
-
Warm Water Feedings: Using warm water (around 80-90°F or 27-32°C) when feeding your starter can give it a temperature boost. This warmer water encourages yeast activity right from the start of the feeding cycle.
Note on Temperature Acclimatization: A robust and mature starter, one that’s been well-established and consistently fed, often becomes less sensitive to temperature variations. My own starter, for instance, is quite resilient and will rise reliably even in cooler conditions or when stored in the refrigerator. This adaptability comes with maturity and consistent care. Keep this in mind as you nurture your starter; it will likely become more forgiving over time.
Ingredients: Quality Flour and Water Matter
A sourdough starter is fundamentally made of just two ingredients: flour and water. The quality of these ingredients significantly impacts the health and activity of your starter.
For flour, always opt for unbleached, unbromated flour that’s free of chemical additives. Most non-organic flours in the U.S., including popular brands like King Arthur Flour, are enriched with vitamins and minerals, including iron and folic acid. These enrichments are generally acceptable for sourdough starters. I also find Trader Joe’s all-purpose flour to be a reliable option for feedings.
However, understand that flours are not created equal. Flour characteristics vary significantly based on origin, milling processes, and even organic vs. non-organic status. UK flour, for example, will have different enzyme and mineral compositions compared to flour from the U.S., Japan, or Australia. Even within organic flours, performance can differ.
When you’re troubleshooting a sluggish starter, avoid frequent flour brand switching initially. This can introduce too many variables and make it difficult to pinpoint the root cause of the problem. Stick to one brand initially to eliminate flour as a potential issue, and then experiment later once your starter is stable.
For water, consider using filtered or bottled water, especially if you suspect your tap water contains high levels of chlorine or other chemicals that might inhibit starter activity. While my tap water works fine, if you are facing issues, switching to filtered water is a simple change that can make a difference.
Feeding Frequency: Listen to Your Starter’s Hunger Cues
Just as our appetites vary, so do those of sourdough starters. If your starter was once active and bubbly but has now become sluggish, it might simply be hungrier. When a starter becomes less active, it could be signaling a need for more frequent feedings to revitalize yeast development. Assuming you’ve considered temperature and ingredient quality, try increasing your feeding frequency to twice a day and observe the response.
Additionally, if your starter has been dormant in the refrigerator, it will require several feedings at room temperature to regain its bubbly vigor. Patience is key here; it can take a few days for a refrigerated starter to fully reactivate.
2. Flour Type: Consistency is Key
Feed your starter with the same type of flour it was initially created with.
Let’s clarify feeding practices: sourdough bakers have diverse methods for feeding their starters, and no single method is universally superior. The best approach is one that yields consistent and predictable results for you.
To simplify and achieve reliable outcomes, maintain consistency in your flour choice. If your starter was established with all-purpose flour, continue feeding it with all-purpose flour. If it was made with rye flour, feed it with rye flour. This straightforward approach eliminates flour type as a variable.
By using the same flour, you establish a predictable feeding routine, making the rise time more consistent and manageable. Consider it analogous to feeding a pet; abrupt diet changes can cause digestive upset. Starters, while not pets in the traditional sense, also thrive on consistency.
3. Feeding Ratios: How Much Flour and Water?
For a 100% hydration starter, use a 1:1:1 ratio by weight for feeding.
This means equal parts starter, flour, and water, measured by weight. For example, if you have 30 grams of starter remaining, feed it with 30 grams of flour and 30 grams of water. If you have 60 grams of starter, use 60 grams of flour and 60 grams of water. A kitchen scale is essential for accurate sourdough baking. You can adjust the initial quantity of starter up or down to suit your baking needs and maintenance preferences.
While other feeding ratios exist and are used by bakers, the 1:1:1 ratio by weight provides reliable and predictable results, particularly for beginners. This ratio contributes to a more predictable rise and often allows the starter to maintain its peak rise for a longer duration before collapsing.
Note on Weighing Starter: To accurately weigh your starter, you’ll need to determine the weight of your empty jar first. Weigh the empty jar and note its weight (on paper or masking tape on the jar). Then, weigh the jar with the starter and subtract the empty jar’s weight to find the starter’s weight.
4. Starter Was Bubbly Initially, But Now Inactive? Don’t Panic!
This is a completely normal phase in sourdough starter development.
When creating a starter from scratch, you’ll often observe bubble formation around day three. However, once you begin regular feedings from day four onwards, the bubbling activity might seem to slow down or even disappear temporarily. This can be disconcerting, leading you to believe something has gone wrong. But rest assured, it’s a typical part of the process.
Cultivating a thriving sourdough starter and developing its yeast population takes time and consistent feeding. The process can be unpredictable, and individual experiences vary based on environment and conditions. It’s easy to fall into the trap of comparison and self-doubt, thinking your starter isn’t working.
Should you abandon your current starter and start over?
Absolutely not! Persist with the feeding schedule, and re-read sections 1-3 of this guide to ensure you’ve considered potential troubleshooting factors. If you’re still uncertain, be patient and continue feeding your starter until it consistently doubles in size and becomes bubbly after each feeding. Eventually, you will see the desired results. It’s simply a matter of time and consistent care.
5. Choosing the Right Container for Your Starter
I’ve dedicated an entire post to this topic. Click here to read about sourdough starter containers.
6. Airtight or Loose Lid? Starter Jar Cover Options
The choice of covering your starter jar – airtight or loosely covered – is a matter of preference. Both airtight and loose covers can work effectively.
If you opt for an airtight lid, ensure the jar is sufficiently large to accommodate the starter’s expansion as it rises (aim for at least double its initial volume). Otherwise, the pressure buildup could cause the starter to overflow or even burst the jar in extreme cases.
If you prefer a loose cover, such as a cloth or breathable lid, and notice a dry skin forming on the starter’s surface, it indicates excessive air exposure. While not detrimental, this skin can be removed. Consider switching to a more airtight lid to minimize surface drying in the future if you find it bothersome.
7. The Dark, Smelly Liquid on Your Starter: Hooch Explained
That dark, often grayish liquid that sometimes forms on top of your starter is called hooch. It’s a clear indicator that your starter is hungry and requires feeding.
Rest assured, hooch does not mean your starter is dead. It’s simply a sign of exhaustion. Hooch is a common occurrence and can appear either on the surface or even within the starter culture itself. It’s characterized by an unappealing appearance and a pungent, gym sock-like odor.
When you see hooch, simply pour it off along with any discolored starter underneath it and feed your starter immediately. This is all that’s needed to address hooch.
Important Note: Hooch is not mold. They are distinct and easily distinguishable.
8. Sourdough Starter Smell: What’s Normal?
A healthy sourdough starter should have a pleasant aroma. It shouldn’t smell excessively vinegary, like gym socks, or reminiscent of nail polish remover. These strong, unpleasant odors are signals that your starter is overly acidic and needs to be fed promptly. While these smells are undesirable, they aren’t cause for major alarm; feeding will usually rectify the situation.
On the other hand, a starter in good condition will have a fresh, fruity, and yeasty scent.
But what do “fresh, fruity, and yeasty” actually smell like?
These aromas are subjective and vary from starter to starter. Some starters might exhibit notes of toasted coconut and pineapple, while others lean towards apple cinnamon. It’s fascinating to observe the diverse scent profiles that develop. Don’t be concerned if your starter’s aroma is simply tangy and not particularly “exotic.” This is perfectly normal. The specific aroma is influenced by the microbial composition within the starter and how it’s maintained.
9. Mold on Sourdough Starter: A Serious Issue
If you observe mold growing on your starter, discard the entire starter immediately!
In my years of sourdough baking, mold contamination has been rare. However, it’s a potential issue to be aware of, and I have received emails from bakers, notably from eastern Australia, reporting mold problems (possibly related to climate conditions).
Mold can appear on the surface of the starter or on the jar itself. Its appearance varies, ranging from white and fluffy to dark greenish-brown, and even pink.
What causes mold in sourdough starters?
Mold spores are ubiquitous in our environment. Mold growth requires a combination of factors: a food source, suitable temperature, and moisture. Consider your starter’s surroundings: Is the jar located near a fruit bowl (potential food source for mold)? Is your climate humid (mold thrives in humidity)? Are you using tap water (which can contain trace minerals that might support mold growth in certain environments)?
Given the diverse environments we live in, pinpointing the exact cause of mold can be challenging. However, troubleshooting these factors can help identify potential contributing elements. Moving your starter to a different room, if you suspect the location is contributing to mold, is a simple step to try.
In addition to environmental factors, mold can also develop if your starter isn’t fed frequently enough. Regular feedings maintain a healthy balance of beneficial bacteria and yeast, which can inhibit mold growth. Consider increasing your feeding frequency as a preventative measure.
Finally, contamination from external sources can introduce mold. One summer, a fruit fly unfortunately landed in my starter, and the entire culture developed a pinkish hue (not the fly itself, but the starter). It’s unclear if this pink color was true mold or a consequence of the fly incident, but it highlights the potential for external contaminants to introduce unwanted microorganisms.
10. Fruit Flies and Sourdough Starters: A Summer Saga
Short answer to getting rid of fruit flies: it’s nearly impossible to completely eliminate them.
During warmer months, especially summer, fruit flies are almost inevitably drawn to sourdough starters. They are strongly attracted to the fermenting mixture. Preventing them entirely is difficult, but you can minimize their presence.
Here are a few strategies to manage fruit flies:
-
Distance from Fruit: Ensure your starter is kept away from any fruit bowls or fruit sources (obvious, but worth reiterating).
-
Relocation: Move your starter to a less food-prone area. I sometimes keep mine in a bedroom, far from the kitchen and its food sources – my husband finds this slightly unusual!
-
Lid Security: Keep the starter jar lid securely fastened. While it won’t completely deter determined fruit flies, it significantly reduces access, especially after relocating the starter away from the kitchen.
If you have other effective fruit fly management techniques, I’m always eager to learn! The comment section below this article often contains excellent community tips.
11. Gluten-Free Starters and Bread: A Separate World
Short answer: NO, a wheat-based sourdough starter cannot be used to make truly gluten-free sourdough bread.
Traditional sourdough starters are created from wheat flour and water, inherently containing gluten. If you wish to bake gluten-free sourdough bread, you must use a gluten-free starter. It’s a fundamental distinction. I frequently receive inquiries asking if my standard sourdough starter can be adapted for gluten-free baking, and the answer is that it won’t produce authentic gluten-free sourdough. Gluten-free sourdough requires a starter cultivated with gluten-free flours.
12. Forgetting to Feed Your Starter: Is it Fatal?
Short answer: NO, forgetting to feed your starter is not going to kill it.
Despite reassurances, when faced with a starter that’s not rising or behaving as expected, the immediate thought often jumps to “it’s dead!” The internet can sometimes amplify this fear, suggesting that a starter lacking instant bubbling activity is irrevocably ruined.
Have faith in your starter’s resilience. I once discovered a starter that had been forgotten in the refrigerator for over a year, completely unfed. After transferring it to a clean jar, feeding it consistently for several days in a warm environment, and practicing patience, it revived and was still very much ALIVE! This is the typical recovery process for a neglected starter. Starters are remarkably resilient. They require practice and patience, but they are not as fragile as they might seem.
Which leads to the final, and perhaps most crucial, point…
13. Cultivate Patience: The Most Important Ingredient
This is undoubtedly the most challenging aspect of sourdough baking in our fast-paced world. Yet, patience is arguably the most vital ingredient in sourdough success.
In an era of instant gratification, sourdough teaches us the value of time and slow processes. There are no shortcuts, no cheat codes. Just like parenting, eventually, that 2 AM wake-up call will become a distant memory.
Re-read these troubleshooting tips slowly and thoughtfully, considering which factors might be relevant to your specific situation. Some days your starter will be a bubbling marvel, and other days it might act like a temperamental diva. Remember, sourdough starter issues are usually a combination of factors, not a single catastrophic error. Your starter’s behavior isn’t intended to frustrate you; it’s simply prompting you to pay attention and understand its needs. Take your time, feed it as needed, adjust its environment, and respect the process. This ongoing interaction is the key to learning and mastering sourdough.
My aim with this guide was to provide comprehensive answers to your questions without overwhelming you. The nuances of sourdough starters are vast, and countless scenarios can arise. Please feel free to share your additional insights and tips in the comments below. Based on your feedback, I will periodically update this guide to ensure it remains current and helpful. Happy baking!