If your iPhone displays “SOS” or “SOS Only,” it means your device can’t connect to your regular cellular network but can still make emergency calls. This article explains why this happens and provides solutions to reconnect to your cellular network.
Understanding the SOS or SOS Only Message
Seeing “SOS” or “SOS Only” indicates a lack of connection to your primary cellular network. However, in certain regions like the US, Canada, and Australia, your iPhone can still connect to other available networks for emergency calls. Don’t panic; this doesn’t always indicate a serious problem. It’s often a temporary network issue or a problem with your device settings.
Troubleshooting Steps to Fix the SOS Issue
Here’s a step-by-step guide to troubleshoot and fix the “SOS” or “SOS Only” message on your iPhone:
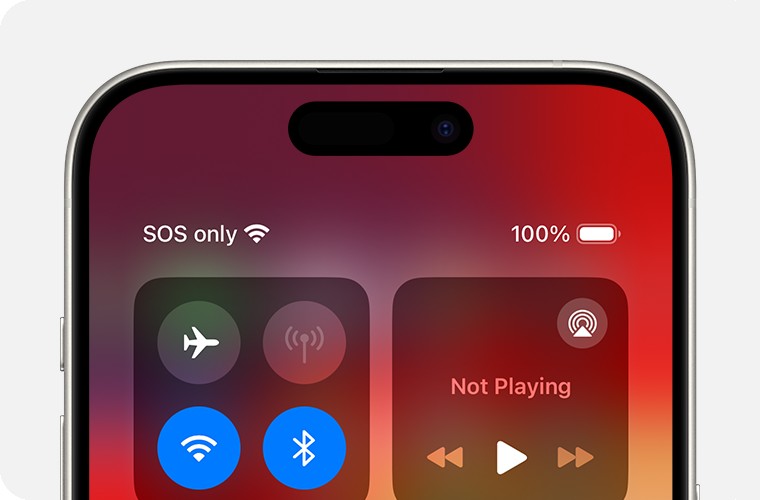
1. Toggle Airplane Mode
The simplest fix is often toggling Airplane Mode.
- Go to Settings and turn on Airplane Mode.
- Wait for at least 15 seconds.
- Turn Airplane Mode off and check if your cellular connection is restored.
2. Restart Your iPhone
A simple restart can often resolve minor software glitches that might be causing the SOS issue. Press and hold the power button until the slider appears, then slide to power off. Turn your iPhone back on after a minute.
3. Contact Your Carrier
If the issue persists, contact your carrier to rule out account or network problems. They can verify your account status, check for network outages in your area, and ensure your device isn’t blocked from receiving cellular service.
4. Update Your iPhone Software
Outdated software can sometimes lead to connectivity issues. Ensure your iPhone is running the latest version of iOS. Go to Settings > General > Software Update to check for and install any available updates.
5. Check for Carrier Settings Update
Carriers occasionally release updates that can affect connectivity. Check for these updates by going to Settings > General > About. If an update is available, you’ll see a prompt to install it.
6. Troubleshoot Dual SIM Issues (If Applicable)
If you have an iPhone with Dual SIM, ensure both lines are activated and configured correctly. Go to Settings > Cellular and check the status of each line. Try toggling each line off and on again.
7. Verify Data Roaming Settings for International Travel
If you’re traveling internationally, ensure data roaming is enabled. Go to Settings > Cellular > Cellular Data Options > Data Roaming and turn it on. Confirm with your carrier about international roaming plans and charges.
8. Addressing 3G Network Issues
Older iPhones (iPhone 5s and earlier) relying on 3G networks might display “No Service” due to the phasing out of 3G. Contact your carrier to discuss available options or consider upgrading to a newer iPhone. For iPhone 6 or later, ensure LTE is enabled in Settings > Cellular > Cellular Data Options > Enable LTE.
Seeking Further Assistance
If none of the above steps resolve the issue, using the Apple Support app (available on iPhones running iOS 18) can provide further diagnostic information. You can also contact Apple Support directly or visit an authorized service provider for personalized assistance. Apple’s support documentation offers comprehensive troubleshooting guides for connectivity issues. Don’t hesitate to reach out for help if your iPhone continues showing SOS.