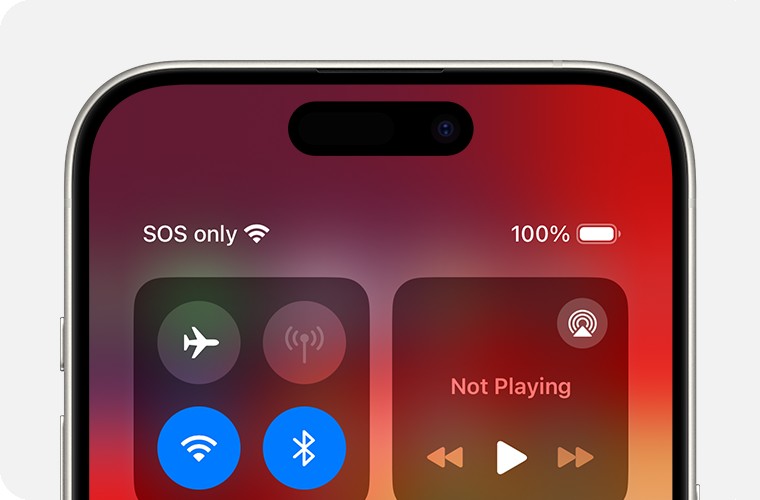
Experiencing an SOS signal on your iPhone can be concerning. Instead of the usual cellular bars, you might see “SOS” or “SOS Only” in your status bar. This indicates your iPhone is struggling to connect to your regular cellular network, but it’s not a complete dead end. Let’s explore why your iPhone might be in SOS mode and, more importantly, how to get it back to normal.
If your iPhone displays SOS or “SOS only,” it means your device has lost connection to your primary cellular network. However, Apple has a feature that allows you to make emergency calls through other carrier networks in the area. This capability is currently available in Australia, Canada, and the United States, aiming to provide a safety net when your network is unavailable.
While SOS mode ensures you can still reach emergency services, you’ll want to restore your regular cellular service for calls, texts, and data. Here’s a systematic approach to troubleshoot and resolve the “SOS iPhone” issue.
How to Reconnect to Your Cellular Network
Often, a temporary glitch can cause your iPhone to lose its cellular connection. Here are some quick steps to try and re-establish the link:
Toggle Airplane Mode
This simple trick can often reset your iPhone’s network connection.
- Open Settings app.
- Turn on Airplane Mode. Wait for at least 15 seconds.
- Turn off Airplane Mode. Your iPhone will attempt to reconnect to the cellular network.
Restart Your iPhone
A device restart can resolve many software-related issues, including network connectivity problems.
- For iPhones with Face ID: Press and hold the side button and either volume button until the power-off slider appears. Drag the slider, then wait 30 seconds for your device to turn off. To turn it back on, press and hold the side button until you see the Apple logo.
- For iPhones with a Home button: Press and hold the side (or top) button until the power-off slider appears. Drag the slider, then wait 30 seconds for your device to turn off. To turn it back on, press and hold the side (or top) button until you see the Apple logo.
Investigate Carrier and Account Issues
If the quick fixes don’t work, the problem might lie with your mobile carrier or your account status.
Contact Your Carrier
Reach out to your cellular service provider to verify the following:
- Account Status: Confirm that your account is active and in good standing. Service disruptions can occur due to billing issues or account maintenance.
- Network Coverage: Ensure you are in an area with cellular network coverage and that there are no reported outages in your region. Carrier websites often have outage maps or service status pages.
- Device Block or Data Plan: Check that your iPhone isn’t blocked from receiving cellular services and is correctly set up with an appropriate data plan.
- IMEI Registration: Inquire if your local government requires IMEI registration, especially if you purchased your iPhone internationally.
Your wireless carrier has the necessary access to manage and clarify details specific to your account and service.
Software and Settings Updates
Outdated software or carrier settings can sometimes lead to connectivity problems.
Update iOS
Ensure your iPhone is running the latest version of iOS. Software updates often include bug fixes and improvements that can address network issues.
- Open Settings app.
- Tap General > Software Update.
- If an update is available, tap Download and Install.
Check for Carrier Settings Update
Carrier settings updates can improve your iPhone’s ability to connect to your carrier’s network.
- Make sure your iPhone is connected to Wi-Fi.
- Open Settings app.
- Tap General > About.
- If a carrier settings update is available, you’ll see a prompt to update. Tap Update.
- To check your current carrier settings version, go to Settings > General > About and look next to Carrier.
Dual SIM and SIM Card Considerations
If you use Dual SIM or have recently changed your SIM card, these points are relevant.
Check Cellular Line (Dual SIM iPhones)
For iPhones with Dual SIM capability, ensure both cellular lines are correctly configured and active.
- Open Settings app.
- Tap Cellular.
- Tap on the cellular line you want to check.
- Verify that the line is turned on. If it’s off, turn it back on.
If you don’t see your cellular line listed, you may need to contact your carrier to set up an eSIM or insert a physical SIM card properly. If using a physical SIM, try removing and re-inserting it.
SIM Card Condition
Inspect your SIM card for any damage. If it appears damaged or doesn’t fit correctly in the SIM tray, or if you’ve transferred a SIM from an older device, request a new SIM card from your carrier.
International Travel and Data Roaming
Traveling abroad can also trigger SOS mode if your data roaming settings are incorrect.
Enable Data Roaming
If you are traveling internationally, ensure data roaming is enabled to connect to foreign networks.
- Open Settings app.
- Tap Cellular or Cellular Data.
- Tap Cellular Data Options.
- Turn on Data Roaming.
3G Network Sunsetting
If you have an older iPhone model (iPhone 5s, iPhone 5c, or earlier) and see “No Service,” it might be related to the phasing out of 3G networks by carriers. For iPhone 6 or later models experiencing “No Service” in areas with 3G sunsetting, ensure LTE is enabled in Cellular Data Options within Settings. For iPads, ensure LTE is turned on in Cellular settings. However, iPhones and iPads supporting 5G are not affected by 3G network shutdowns.
Still in SOS Mode?
If you’ve tried all these steps and your iPhone is still in SOS mode, it’s best to seek further assistance. You can contact Apple Support for more in-depth troubleshooting or visit an authorized service provider for hardware checks.
By systematically following these steps, you can often identify and resolve the reasons behind your iPhone being in SOS mode and restore your regular cellular service.