A squeaking dryer can be more than just an annoying sound in your laundry room. It can be a sign that something isn’t quite right with your appliance. While it might be tempting to ignore it, that persistent squeak could indicate a minor issue that, if left unaddressed, could turn into a bigger problem down the line. The good news is that a squeaking noise is often easily fixable and doesn’t necessarily mean your dryer is on its last legs. Let’s explore the common reasons why your dryer might be squeaking and what you can do to restore peace and quiet to your laundry routine.
Reason #1: The Case of the Clogged Lint Trap
One of the simplest and most often overlooked culprits behind a squeaking dryer is a clogged lint trap. The lint trap is designed to catch fibers and debris from your clothes during the drying cycle, preventing them from clogging your dryer vent. Ideally, this trap should be cleaned after every single load. However, in reality, it’s a task that can easily be forgotten.
When the lint trap becomes excessively full, it restricts airflow and can create friction within the dryer. This friction, particularly around the drum, can manifest as a squeaking sound as the drum rotates. Think of it like a wheel trying to turn with something rubbing against it – that’s the lint buildup causing the squeak.
The Fix: Make it a habit to clean your lint trap after each dryer cycle. Simply remove the lint screen, pull off the accumulated lint, and replace the screen. For a more thorough cleaning, you can also use a vacuum cleaner hose attachment to remove any lingering lint or debris from around the filter mesh and down into the vent opening. Regular lint trap maintenance is not only key to preventing squeaking but also crucial for dryer safety and efficiency, as it reduces fire hazards and ensures proper drying.
Reason #2: Dryer Belt Blues
The dryer belt is a fundamental component that enables your dryer to tumble your clothes effectively. This long, rubber belt wraps around the dryer drum and is connected to the motor. When the motor runs, it turns the belt, which in turn rotates the drum, allowing your clothes to tumble and dry evenly.
Over time, and with regular use, dryer belts can wear out, stretch, or even crack. As the belt deteriorates, it can lose its tension and slip or rub against other parts as it rotates. This slippage and friction are common causes of squeaking noises. A worn dryer belt might also produce a squealing or high-pitched whining sound in addition to squeaking.
The Fix: Inspecting your dryer belt periodically is a good preventative measure. You’ll typically need to access the dryer’s interior by removing a panel (refer to your dryer’s manual for specific instructions). Look for signs of wear and tear on the belt, such as fraying, cracking, glazing, or excessive stretching. If you notice any of these issues, replacing the dryer belt is usually a straightforward DIY task. Dryer belts are relatively inexpensive and readily available online or at appliance parts stores.
Reason #3: Drum Rollers – Wheels of Misfortune?
Drum rollers are small, usually plastic or nylon wheels located at the rear of the dryer drum. Their job is to support the drum and allow it to rotate smoothly and quietly. Most dryers have a set of these rollers to distribute the weight of the drum and the clothes inside.
With constant use and the heavy loads dryers often handle, drum rollers can wear down, become flat on one side, or even break. When rollers are worn or damaged, they can create friction and resistance as the drum rotates, leading to squeaking, grinding, or rumbling noises. Sometimes, you might also hear a thumping or clanging sound if the rollers are severely misaligned or damaged.
The Fix: Diagnosing drum roller issues often involves listening closely to the location of the squeak. If it seems to be coming from the back of the dryer, drum rollers are a prime suspect. To inspect them, you’ll need to access the dryer drum (again, consult your manual for disassembly instructions). Manually rotate the drum and listen for noises coming from the rollers. You can also try to spin each roller individually to check for roughness or looseness. Worn or damaged drum rollers should be replaced. Replacing drum rollers is a moderately complex DIY repair, but with patience and the right tools, it’s often manageable.
Reason #4: Igniter Issues – A Gas Dryer Specific Problem
If you have a gas dryer and it’s squeaking, the igniter could be the source of the problem. The igniter is a component specific to gas dryers and is responsible for heating up to ignite the gas flame that provides heat for drying.
Over time, the igniter can accumulate lint, dust, and debris. This buildup can interfere with its ability to heat up efficiently. When the igniter struggles to reach the correct temperature, it might cycle on and off more frequently or operate erratically, which can sometimes produce a squeaking or chirping sound. This is more likely to be a clicking or chirping sound, but in some cases, it can present as a squeak. Igniter issues can also lead to longer drying times or the dryer not heating up properly at all.
The Fix: While igniter problems can cause squeaking, they often manifest with other symptoms like longer drying times or a lack of heat. Inspecting the igniter usually requires some disassembly of the dryer and working with gas lines (if you’re not comfortable working with gas, it’s best to call a qualified technician). You can visually inspect the igniter for damage or excessive buildup. However, diagnosing igniter problems often requires testing with a multimeter. If the igniter is faulty, replacement is necessary. Safety Note: Working with gas appliances requires caution. If you suspect an igniter problem and are not experienced in appliance repair, it is highly recommended to consult a qualified appliance repair technician.
 why is my dryer making a loud squeaking noise
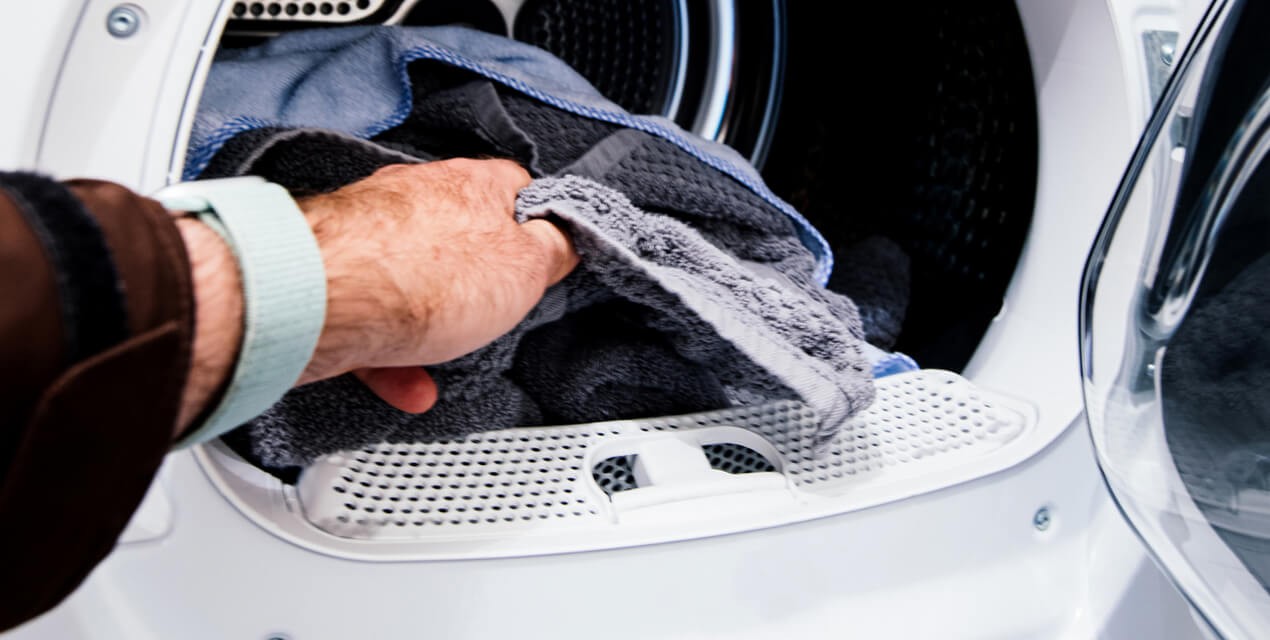
Alt text: Close-up of a hand pointing to a lint trap inside a dryer, highlighting lint buildup as a potential cause of squeaking noises.
How to Silence a Squeaky Dryer: DIY Solutions
Now that we’ve identified the common culprits behind a squeaking dryer, let’s talk about how to fix it. Many of these issues can be addressed with some DIY troubleshooting and repair. Here are some steps you can take to silence your noisy dryer:
Lubrication: The Quick Fix (Sometimes)
Lubrication is often the easiest first step and can sometimes resolve squeaking issues, especially those related to friction in moving parts. To lubricate your dryer, you’ll need to access the internal components, typically by removing the front or rear panel (again, refer to your dryer’s manual). Once you have access, focus on lubricating the following:
- Motor Shaft: Apply lubricant to the motor shaft where it enters the blower housing.
- Drum Support Wheels/Rollers: Lubricate the axles or bearings of the drum support wheels and rollers.
Types of Lubricant:
- WD-40: While WD-40 can work in a pinch, it’s not a long-lasting lubricant and can sometimes attract dust and grime over time. It might also produce a noticeable odor for a short period after application.
- Silicone-Based Lubricant: A better option is a silicone-based spray lubricant. Silicone lubricants are longer-lasting, resist temperature extremes, and are less likely to attract dust.
- High-Temperature Grease: For more heavy-duty lubrication, especially for drum rollers, consider using a high-temperature grease specifically designed for appliances or bearings.
Apply lubricant sparingly and wipe away any excess. After lubricating, run the dryer for a short cycle to see if the squeaking has subsided. Keep in mind that lubrication might be a temporary fix, especially if parts are worn and need replacement.
Soft Pad Replacement: Addressing Drum Support
Some dryers utilize a soft felt or Teflon pad on the rear drum support bearing to help the drum rotate smoothly and quietly. Over time, this pad can wear down or become damaged, leading to squeaking or grinding noises, particularly from the back of the dryer.
The Fix: Replacing the soft pad is a relatively inexpensive and straightforward repair. To access the rear drum thrust bearing and the soft pad, you’ll usually need to disconnect power to the dryer, unplug it, and remove the front panel. The soft pad is typically located at the center of the rear bulkhead where the drum shaft rests.
- Removal: Some models allow you to simply slide out the old pad. Others may require you to remove screws holding it in place.
- Installation: Install the new soft pad, ensuring it is properly positioned. Reassemble the dryer.
Replacing the soft pad can often eliminate squeaking noises coming from the rear of the drum.
Dryer Belt Inspection and Replacement: A Deeper Dive
We touched on dryer belts earlier as a potential cause of squeaking. A thorough inspection of the dryer belt is crucial when troubleshooting squeaking noises.
Inspection:
- Access: Remove the appropriate dryer panel to access the belt (usually the rear or front panel).
- Visual Check: Carefully examine the entire length of the belt for:
- Cracks or Fraying: Look for any visible damage to the belt material.
- Glazing: A shiny or smooth surface on the belt indicates wear.
- Stretching: Compare the old belt to a new belt if you have one, or check for excessive slack.
- Tension: Check the belt tension. It should have some tension but not be overly tight or loose.
Replacement: If the belt shows signs of wear or damage, replacement is recommended.
- Removal: Note the belt’s routing around the pulleys and motor shaft before removing it. You’ll usually need to relieve tension on the tensioner pulley to remove the belt.
- Installation: Install the new belt, carefully following the correct routing. Ensure the belt is properly seated on all pulleys and the motor shaft. Restore tension to the tensioner pulley.
Replacing a worn dryer belt can resolve squeaking and ensure proper drum rotation.
Support Wheel and Bearing Check: For Smooth Rotation
If lubrication and belt checks don’t solve the squeaking, the drum support wheels and bearings are likely suspects.
Inspection:
- Access: You’ll need to access the drum support wheels, typically by removing the front panel and possibly the drum itself (refer to your dryer manual).
- Wheel Security: Gently tug on each wheel to check for looseness or excessive play. They should be securely mounted.
- Rotation: Rotate each wheel by hand. They should spin smoothly and quietly. Listen for grinding, squeaking, or roughness.
- Visual Inspection: Look for signs of wear, damage, or flat spots on the wheels.
Replacement: If any wheels are loose, noisy, or show signs of wear, they should be replaced. Replacing drum support wheels usually involves removing screws or clips that hold them in place. Bearings may be integrated into the wheels or replaceable separately, depending on the dryer model.
When to Call a Professional:
While many dryer squeaking issues can be fixed with DIY efforts, there are times when it’s best to call a qualified appliance repair technician.
- Gas Dryer Igniter Issues: If you suspect an igniter problem in a gas dryer and are not comfortable working with gas lines, call a professional.
- Complex Disassembly: If accessing the necessary parts for inspection or repair requires complex disassembly that you’re not comfortable with.
- Persistent Squeaking: If you’ve tried lubrication, belt checks, and other DIY fixes, and the squeaking persists.
- Uncertainty: If you’re unsure about the cause of the squeaking or how to proceed with repairs.
Addressing a squeaky dryer promptly not only eliminates the annoying noise but also helps ensure your dryer operates efficiently and safely for years to come. By systematically troubleshooting and addressing the common causes, you can often restore your dryer to quiet and reliable operation.