Experiencing the frustration of seeing “SOS Only” on your iPhone can be unsettling. It signifies a critical disruption in your device’s ability to connect to your cellular network, leaving you unable to make regular calls, send texts, or use mobile data. While “SOS Only” mode thankfully still allows you to make emergency calls, it’s essential to understand why this is happening and how to restore full cellular service to your iPhone. This guide will explore the common reasons behind the “SOS Only” message and provide you with comprehensive troubleshooting steps to get your iPhone back online.
Understanding “SOS Only” on Your iPhone
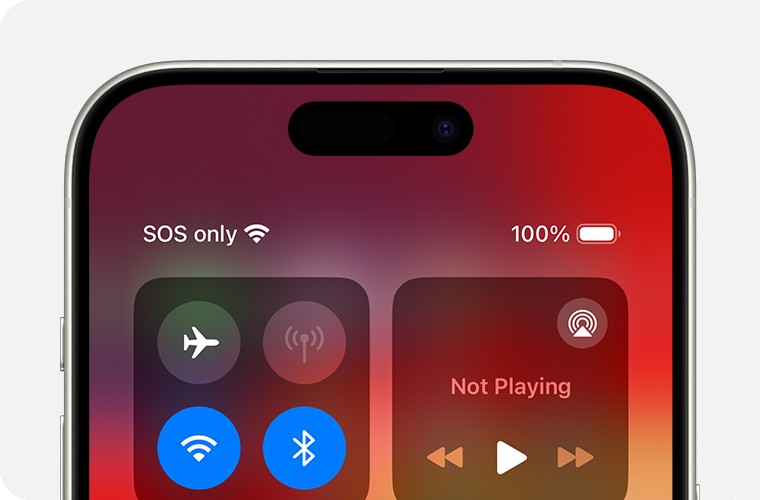
When your iPhone displays “SOS Only” in the status bar, it indicates that your device has lost connection to your primary cellular network. However, it’s not a complete communication blackout. In many regions, including Australia, Canada, and the United States, “SOS Only” means your iPhone can still connect to other available carrier networks in the vicinity to make emergency calls. This is a crucial safety feature, ensuring you can reach emergency services even without your usual network coverage.
Essentially, “SOS Only” is a step above “No Service” or “Searching.” While “No Service” or “Searching” means your iPhone is struggling to find any network, “SOS Only” signifies it has found a network capable of emergency calls, even if it’s not your subscribed network.
Common Reasons Why Your iPhone Shows “SOS Only”
Several factors can trigger the “SOS Only” status on your iPhone. Understanding these reasons is the first step towards effective troubleshooting:
- No Cellular Coverage: The most common reason is simply being in an area with no or weak cellular network coverage from your carrier. This could be in remote areas, underground, or inside buildings with poor signal penetration.
- Carrier Outage: Your carrier might be experiencing a temporary outage in your area due to maintenance, technical issues, or unforeseen events.
- Account Issues: Problems with your carrier account, such as suspension due to billing issues or an inactive account, can lead to service disruptions.
- SIM Card Problems: A faulty, damaged, or improperly inserted SIM card can prevent your iPhone from connecting to the cellular network.
- Software Glitches: Occasional software bugs or glitches in iOS can interfere with cellular connectivity.
- Outdated Carrier Settings: Carrier settings are small files that allow your iPhone to connect to your carrier’s network. Outdated settings can sometimes cause connection problems.
- Airplane Mode (Accidentally Enabled): It’s easy to accidentally turn on Airplane Mode, which immediately disconnects your iPhone from cellular and Wi-Fi networks.
- Hardware Issues: In rare cases, a hardware problem within your iPhone related to the cellular antenna or modem could be the cause.
- International Roaming Issues: If you are traveling internationally, incorrect roaming settings or lack of international roaming on your plan can result in “SOS Only.”
Troubleshooting Steps to Fix “SOS Only” on iPhone
Follow these steps in order to try and restore cellular service to your iPhone and resolve the “SOS Only” issue:
-
Toggle Airplane Mode: This is a quick and often effective first step to refresh your iPhone’s network connection.
- Open Settings.
- Turn on Airplane Mode. Wait for at least 15 seconds.
- Turn off Airplane Mode.
- Check if “SOS Only” disappears and your cellular service is restored.
-
Restart Your iPhone: Restarting your iPhone can resolve minor software glitches that might be causing the issue.
- For iPhones with Face ID: Press and hold the Side button and either Volume button until the power-off slider appears. Drag the slider, then wait 30 seconds for your device to turn off. To turn it back on, press and hold the Side button until you see the Apple logo.
- For iPhones with a Home button: Press and hold the Side (or Top) button until the power-off slider appears. Drag the slider, then wait 30 seconds for your device to turn off. To turn it back on, press and hold the Side (or Top) button until you see the Apple logo.
-
Check Cellular Coverage Area: Ensure you are in an area with known cellular coverage from your carrier. Move to a different location, preferably outdoors and away from potential signal blockers like thick walls or basements.
-
Contact Your Carrier: Reach out to your cellular carrier to verify the following:
- Account Status: Confirm your account is active and in good standing.
- Outages: Ask if there are any reported outages or maintenance work in your area.
- Device Eligibility: Ensure your iPhone is not blocked or barred from receiving cellular services and is properly provisioned with the correct data plan.
- IMEI Registration (International Purchases): If you purchased your iPhone outside your current country, inquire if local regulations require IMEI registration.
-
Update iOS: Ensure your iPhone is running the latest version of iOS. Software updates often include bug fixes that can improve cellular connectivity.
- Open Settings > General > Software Update.
- If an update is available, download and install it.
-
Check for Carrier Settings Update: Manually check for and install any available carrier settings updates.
- Connect your iPhone to Wi-Fi.
- Open Settings > General > About.
- If a carrier settings update is available, you will see a prompt to update. Tap Update.
- To check your current carrier settings version, go to Settings > General > About and look next to Carrier.
-
Re-insert or Replace SIM Card:
- Restart: Turn off your iPhone and then remove and re-insert your SIM card. Ensure it is properly seated in the SIM tray.
- Inspect: Examine the SIM card for any visible damage.
- Test with another SIM (if possible): If you have access to another SIM card from the same carrier, try using it in your iPhone to see if the issue persists.
- Contact Carrier for New SIM: If you suspect your SIM card is faulty, contact your carrier to request a replacement.
-
Check Cellular Data Roaming (for International Travel): If you are traveling internationally, ensure data roaming is enabled.
- Open Settings > Cellular or Mobile Data.
- Tap Cellular Data Options or Mobile Data Options.
- Turn on Data Roaming.
-
Verify Cellular Line is Enabled (Dual SIM iPhones): If you have a Dual SIM iPhone, ensure the cellular line you intend to use is turned on.
- Open Settings > Cellular or Mobile Data.
- Tap the cellular plan you want to check.
- Confirm that “Turn On This Line” is not selected. If it is, tap it to enable the line.
-
Reset Network Settings (Use with Caution): As a last resort, you can reset your iPhone’s network settings. Note: This will erase saved Wi-Fi passwords, cellular settings, and VPN settings.
- Open Settings > General > Transfer or Reset iPhone > Reset.
- Tap Reset Network Settings.
- Confirm the action.
When to Seek Professional Help
If you have exhausted all the troubleshooting steps and your iPhone continues to display “SOS Only,” it may indicate a more complex issue, possibly a hardware problem. In such cases, it’s best to contact Apple Support or visit an authorized Apple Service Provider for professional diagnosis and repair options.
By systematically working through these steps, you should be able to identify and resolve the reason why your iPhone says “SOS Only” and restore full cellular service to your device.